Friday, January 29, 2016

2015 Holiday Card Family Pictures

I ran out of time this past December to do holiday cards with a handmade element (like I did for our 2014 holiday cards and our 2013 holiday cards). I also didn't make it in time to send out cards before Christmas, so I made sure to get Happy New Year cards so that I could at least send them out in time for the new year.

The picture I chose for our new year's card:
2015 Holiday Card Family Pictures | shirley shirley bo birley Blog

Hopefully both kids can be looking at the camera for 2016 holiday cards without weird looks/faces/smiles. Evie is getting easier to coach for photos. Parker . . . is still a baby (nuff said).

Our friend, Jessica (J Pace Images), took pictures for us. Here were some of the other pictures from the same photo session at Mesa Arts Center:

2015 Holiday Card Family Pictures | shirley shirley bo birley Blog

After we were done with pictures, we also checked out The Store at Mesa Arts Center. It's a local artist co-op and had neat handmade items, which we always like looking at!

Monday, January 25, 2016

Parker's Boo Hoo Face Layout

Baby boo hoo faces are so cute and hilarious to me. Maybe to everyone, but I can't speak for everyone.

That moment of indecision is especially cute and hilarious. Boo hoo? No boo hoo? Boo hoo? It's like an infant emotional roller coaster.

When Evie was a baby, I did a layout of her boo hoo face (Boo Hoo Face Layout), so I thought it only fair that Parker got his own boo hoo face layout.

Parker's Boo Hoo Face Layout | shirley shirley bo birley Blog

I used a slide frame die from Pinkfresh Studio to cut the frames (which I've since lost and it drives me crazy, because I don't know if I misplaced it or little hands moved it). The 12x12 background paper is Studio Calico and the patterned paper inside the die cut frames is 3x4 journaling cards from Elise Blaha Cripe's Project Life Seafoam Edition.

Thursday, January 21, 2016

Denver Girls Trip Photo Booth

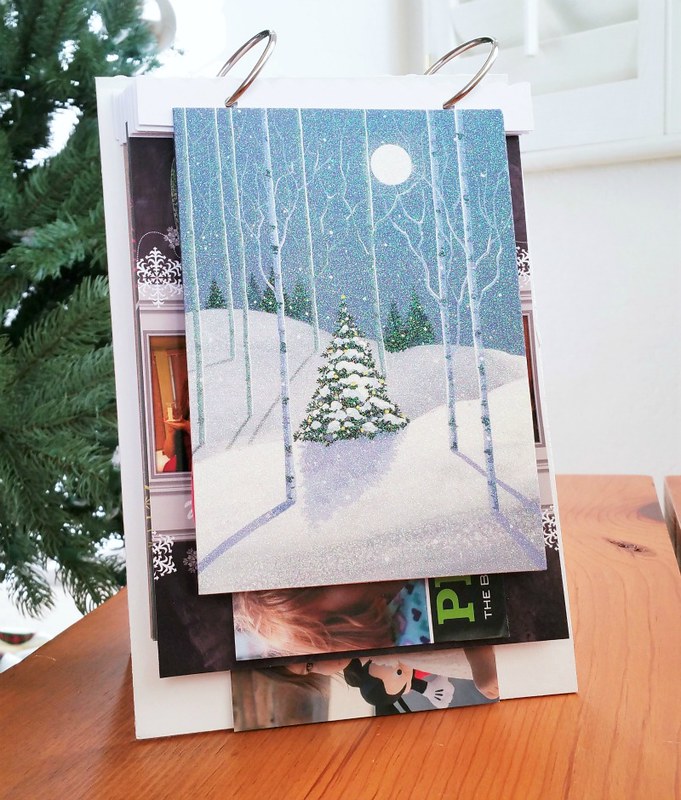
How I didn't post these photo booth pictures sooner, I don't know, because photo booths are too legit to quit.

During July 2014, I went on a weekend trip to Denver with Emily, Melody, and Lee Anne - girls I grew up with. Denver was a good place to hang out for the weekend because it's foodie and hipster, so there were many things to do.

We found a place to stay the weekend on Airbnb. It was a cute little place with a couple bedrooms and we had it to ourselves. On Friday night, which was the day we all arrived, we ate a late dinner at a nearby restaurant, Argyll.

The next day, we had lunch at Comida at The Source, which was this market that had a few trendy restaurants in what looked like a converted warehouse, along with a floral shop, bakery, and other things. For dinner later that night, we cooked pasta and ate on the patio out back. The weather pretty good, perhaps even a bit chilly for my Phoenix blood.

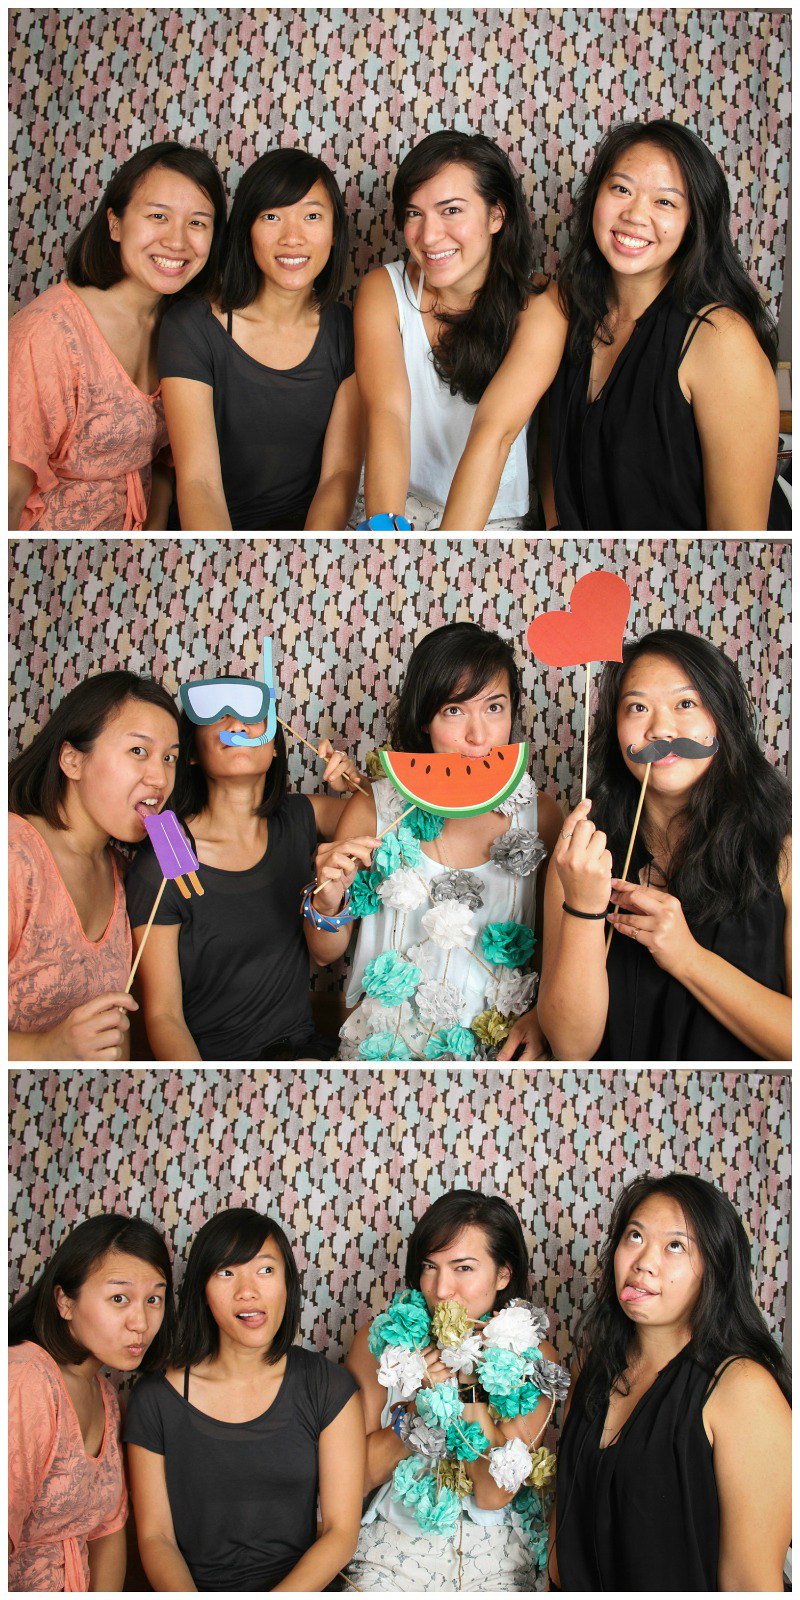
During the day on Saturday, we hit up a craft market that we found, the Horseshoe Market. At the market, there was a vintage camper-turned-photo booth called Picture Me Camping, and we did two rounds of photo booth so that we'd each have a photo booth strip (but also, I love that many photo booths now offer digital copies of photos, otherwise I'd have to scan them).

And after all that set up . . . photo booth!

Denver Girls Trip Photo Booth (Picture Me Camping Photo Booth) | shirley shirley bo birley Blog

Monday, January 18, 2016

2014 Holiday Card Mini Album

It's now 2016, so naturally, I just finished a mini album of 2014 holiday cards.

For several years, I would do a December mini album that included a highlight of our December, in addition to including the holiday cards we received. That was a bigger time commitment than I felt like I could (or perhaps wanted to) continue to give during the holidays, so starting in 2013, I scaled back to just a mini album of holiday cards.

Many holiday cards these days are either photo cards or include photos, so although I end up not doing an album in the vein of Shimelle's Journal Your Christmas or Ali Edwards' December Daily, the cards and photos are still a little snapshot of friends and family.

For this 2014 album, I knew I wanted something where the book rings were at the top, rather than the usual left side. For flat photo cards, it didn't really matter where the spine was, but mattered a bit more for the traditional side-fold cards. To get around this, I cut strips of white cardstock, trimmed with a scalloped border punch, and adhered those to the top of each card on the back (except for one non-standard shaped card). This made is to that I could do a top loading album and not interfere with side-fold cards.

I went clean and simple for the covers: book board cut to size, white acrylic paint on both sides, chipboard shapes also painted with white acrylic paint for white-on-white, and the year with Thickers.

2014 Holiday Card Mini Album | shirley shirley bo birley Blog

Next up: 2015 holiday card mini album. Maybe I'll even get to it before 2017 rolls around. (The other day, Greg asked me why I keep starting new projects when I have a backlog of other projects that I've started. I don't have a good answer, besides telling him to "step off," half-jokingly, of course.)

Also:
December 2013 mini album
December 2012 mini album
December 2011 mini album
December 2010 mini album
December 2009 mini album

Friday, January 15, 2016

Tic-Tac-Toe Challenge 1

Procrastinator that I am (or is it more that I have a day job and a family? Yeah . . .), it wasn't until last night that I squeezed in making this card for the Tic-Tac-Toe Challenge 1, which ends tonight. Still, I made it in time, so . . . holla!

Stamping Smiles Designs Tic-Tac-Toe Challenge 1

I chose to do the gold + sparkles + acetate across the top. I layered a piece of screen printed acetate (from Hambly Screen Prints, which I most definitely hoarded) over gold foil cardstock. The gold foil, by the way - hard to photograph. I also added sequins for the sparkle requirement.

Tic-Tac-Toe Challenge 1 | shirley shirley bo birley Blog

I'm planning to use this as a wedding card for friends getting married next month.


SUPPLIES:

Paper: Staples 8.5 x 11 white cardstock; Bazzill gold foil and white cardstock; Hambly Screen Prints acetate cardstock
Embellishments: My Mind's Eye chipboard sticker; Teresa Collins sequins (teal); Pinkfresh Studio sequins (gold and pink hearts)
Tools: Pinkfresh Studio "Love" die; Cuttlebug; glue dots; Corner Chomper

Monday, January 11, 2016

Hexagon 2016 Calendar Printable

Hooray to having a time-sensitive idea and actually executing on it only . . . a week and a half into the new year!

I usually keep a little calendar on my desk and although in the past, I've had the Whisker Graphics flashcard calendar, I don't believe they have it anymore, and I wanted to make a hexagon one. With watercoloring. And gold foil.

I have mixed feelings about the gold foiling - although I've seen others get good results with laser printer/copier toner and a basic laminating machine, I've not been able to get good, consistent results when I give it a go. That aside, the rainbow watercoloring is thumbs up!

Hexagon 2016 Calendar Printable | shirley shirley bo birley Blog


DOWNLOAD:

Download the printable here:
Hexagon 2016 Calendar Printable

INSTRUCTIONS:

  1. Print the calendar on cardstock. Use a printer with toner if you want to do gold foiling.
  2. Trim the hexagons out with a paper trimmer. Trim right inside the black lines (the guide wire on a paper trimmer helps with that).
  3. For gold foiling, cut foil to size and run through laminator. I only did the months (not the dates). I didn't use a carrier sheet when I fed the foil and hexagon into the laminator, but I did use some tape to secure the foil piece to the hexagon so it didn't move around. I did mask the dates when I fed the hexagon with foil into the laminator to prevent the toner from transferring.
  4. Using a brush, apply watercolor over the month. If the month is gold-foiled, it will resist the watercolor.
  5. Enjoy the happiness that is a rainbow of watercoloring!

SUPPLIES:

Paper: heavy cardstock; toner-printed copies (if gold foiling)
Tools: Fiskars SureCut Personal 12" Paper Trimmer; Kuretake Gansai Tambi 36 Color Set; Sakura 39122 9-ml Tank Koi Water Color Brush, Medium; Gold Metallic 8" x 100' Laminating Foil; Scotch Thermal Laminator 2 Roller System (TL901)

Thursday, January 7, 2016

Parker's Ten Month Photo

So far, this little dude can be easily distracted by a toy in his hand. Each month, I wonder if this will be the month that the toy-in-hand distraction no longer works and he won't be still enough for me to snap a picture (or several).

Parker's Ten Month Photo | shirley shirley bo birley Blog

Tuesday, January 5, 2016

Thanks Bitty Bag Stripe Notecards

For my Whisker Graphics project this month, I put together a set of Thanks notecards, which I'll be having Evie use to do Thank You's for Christmas presents. Having a "thanks" right on the notecard makes the intent clear, but gives Evie plenty of room to decorate or draw on the rest of the card (which she's all about).

Thanks Bitty Bag Stripe Notecards | shirley shirley bo birley Blog

INSTRUCTIONS:

1. Cut horizontal stripe middy bitty bags into strips (one white and one colored bar for each strip).
2. Slip each strip into over a piece of 5.5 x 8.5 cardstock and adhere. I had to trim the cardstock a bit in some cases to match the width of the strip.
3. Stamp a pattern into scallop round tags. Adhere stamped tag over bitty bag strip and trim off excess off the top.
4. Die cut the "thanks" word and coordinating mat (Technique Tuesday Say It - Thanks - DIY Steel Die). Adhere over stamped tag.

Blog Design by Get Polished | © 2018 shirley shirley bo birley blog