Wednesday, November 25, 2015

Monday, November 23, 2015

Parker at 9 Months Old

Selfie with Parker:
Parker at 9 Months Old | shirley shirley bo birley

Playing in the baby area of fort room at the Children's Museum during the Once Upon a Fall Ball:
Parker at 9 Months Old | shirley shirley bo birley

Wearing a spider hat that Evelyn made during Chinese school:
Parker at 9 Months Old | shirley shirley bo birley

  • Got his top two teeth.
  • Got increasingly better at feeding himself. The food in his hands made it into his mouth first more-often-then-not, then majority of the time.
  • Can get himself into a sitting position now.
  • We buzzed his hair, getting rid of the mohawk, because it was slightly off center from him jerking his head during a previous clean-up. We're going to let his hair grow out a bit and then do the mohawk again.
  • Crawling for real now (not just dragging his left leg).
  • Weaned him, though I still have milk saved up in the freezer (probably about 4 boxes worth of milk, each box containing about 30 bags of 8 oz). It feels a little bit like a weight lifted off my shoulders, although at the beginning, I was feeling guilty/distressed about not nursing him as long as I did Evie. But now that I'm over that, it feels really freeing.
  • This was later in the month. The daycare teachers said that he can use the shelves in his classroom to get to a standing position, but that he doesn't know how to sit back down by himself, so he gets upset and the teachers have to help him get back down. Ha.
  • Can eat little bits of softer table food. He's also funny when we aren't fast enough giving him food - he grunts wanting more.

Monday, November 16, 2015

Have an Awesome Bday Card

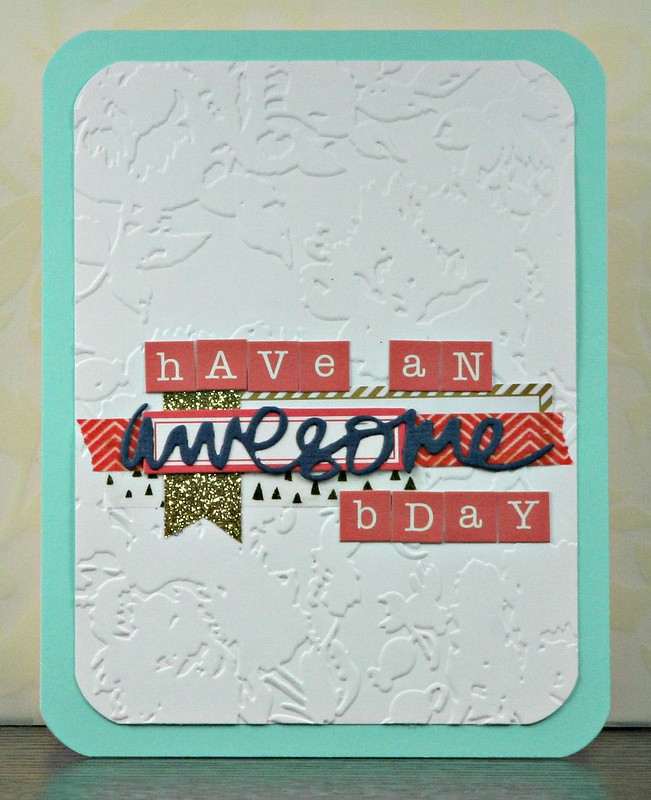
I made and sent a birthday card earlier in the month to crafty friend Ka of Stamping Smiles Designs. Turns out her birthday is only a day after mine!

IMG_6658_HaveAnAwesomeBDay
IMG_6663_HaveAnAwesomeBDay

I keep mulling over the idea of making a better/more concerted effort to send handmade birthday cards to close family/friends, but I also think that's a tall order because I'm not sure I could commit to that and consistently make/send the cards.

Maybe I'm more in love with the idea of having a pretty perpetual calendar to keep track of birthdays and such? But then, I have to ask myself why, because I use Google Calendar for personal scheduling (enables collaboration with Greg!) and Outlook for work scheduling, so even though I see the planner trend becoming more and more popular in the crafting space, I don't feel like it's my thing from a practicality standpoint.
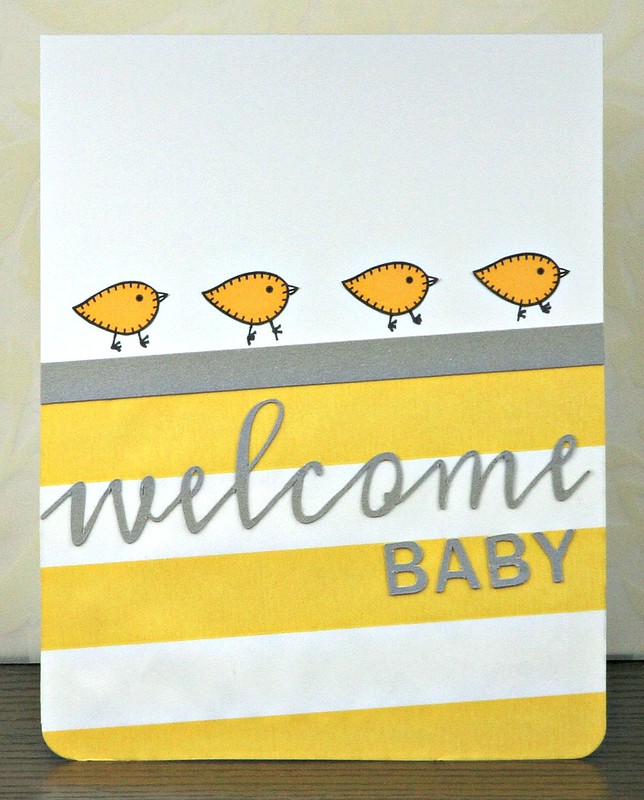
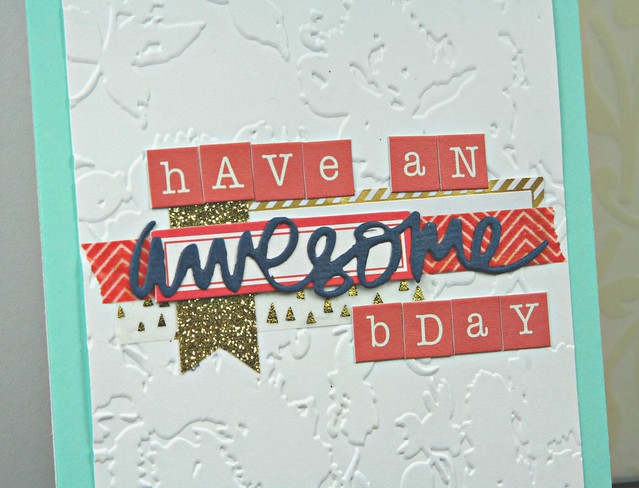

SUPPLIES:

Paper: Bazzill Basics Paper (robin's egg blue and navy cardstock); Staples (white cardstock)
Embellishments: Freckled Fawn (gold and red label stickers); Bazzill Basics Paper (gold glitter tape); My Mind's Eye (letter stickers); We R Memory Keepers (red washi tape); Pinkfresh Studio (gold foil washi tape)
Tools: We R Memory Keepers (corner chomper); Pinkfresh Studio ("awesome" metal die); Becky Higgins (embossing folder); Cuttlebug

Thursday, November 5, 2015

Welcome Baby Bitty Bag Card

This baby card was up on the Whisker Graphics blog a couple of weeks ago, made with a horizontal stripe bitty bag

Welcome Baby Bitty Bag Card | shirley shirley bo birley

INSTRUCTIONS:

1. Cut and fold a 5.5 x 4.25 inch white cardstock base.
2. Trim a horizontal stripe middy bitty bag down to desired height (a little over half the height for my card). Take into account extra length needed to have it be diagonal on the card.
3. Adhere the middy bitty bag panel to the card base at an angle.
4. Cut the sentiment from gray cardstock with Silhouette Cameo.
5. Cut a strip of gray cardstock and adhere to card along with the cut-out sentiment.
6. Cut out chick petite stickies from white background. Adhere in a row above the gray cardstock strip. Draw in feet for the chicks using a Sharpie pen.
7. Round corners.

See this project on the Whisker Graphics blog here: Bitty Bag Baby Card

SUPPLIES:

Paper: Whisker Graphics yellow Horizontal Stripe Middy Bitty Bag; Bazzill gray cardstock
Embellishments: Whisker Graphics yellow Chick Petite Sticky
Tools: Silhouette Cameo; Sharpie pen; We R Memory Keepers corner chomper

Tuesday, November 3, 2015

Twine Tapestry

For this month's Whisker Graphics project - twine tapestries!

Easy Twine Tapestry | shirley shirley bo birley Blog

Using solid Divine Twine, I made both a longer and shorter version. The longer version with five colors and the shorter version with four colors.

INSTRUCTIONS:

1. Cut off the sharp end of a wooden kabob skewer.
2. Decide on how many colors and what length of tapestry, then cut the twine pieces. For the longer version, the tapestry is roughly 10 inches long, so each piece of twine was a little over 20 inches long, and I did 20 pieces of each color. For the shorter version, it was about half the length and 15 pieces of each color.
3. Attach the twine to the skewer by folding in half and looping over the skewer, then slipping the two ends through the loop. Tighten against the skewer. Repeat for all the twine pieces.

SUPPLIES:

Solid Divine Twine (blue, coral, orange, bluebonnet, lemonwood, and wheat)
Wooden kabob skewers

Blog Design by Get Polished | © 2018 shirley shirley bo birley blog