Sunday, June 21, 2015

Parker's Four Month Photo

I was actually very prompt in taking Parker's four month photo earlier this month. The weekend after he was four months, I took the photos. And they were good ones - I got a series of him rolling over from back to front. What I wasn't so good at was blogging them timely. And then earlier today, while I went to take care of laundry, I left my phone unattended with Evelyn, who proceeded to type in the wrong password 10 times in a row. The end result of that was my phone resetting, including wiping all the pictures I'd taken since middle of May (i.e., basically any and all photos I'd taken that I would have typically used for blogging). It could've been worse. I could've had photos back a year or something. But I was still upset.

I re-took four month photos of Parker. Not the same given that it's now two weeks late, but better than nothing.

Parker's Fourth Month Photo | shirley shirley bo birley Blog

Similar to Evie's monthly photos, I'm taking monthly photos of Parker until 12 months: Parker's Monthly Photos.

Friday, June 5, 2015

Retro Sketches 166 Pinkfresh Studio Happy Day Card

Craft time is a bit harder to come by lately, but that's all right - I'll take what I can get. In the interest of convenience and time, I'm trying out using my Note 4 to take card photos for blogging, rather than the DSLR . . I tell myself the saying that goes, "Done is better than perfect."

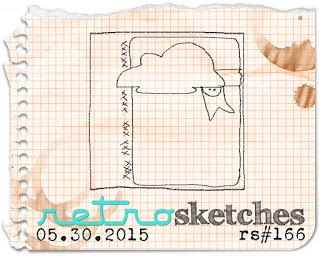
I pulled together a quick card for this week's retro sketch:

RetroSketch166

Retro Sketches 166 Pinkfresh Studio Happy Day Card | shirley shirley bo birley Blog

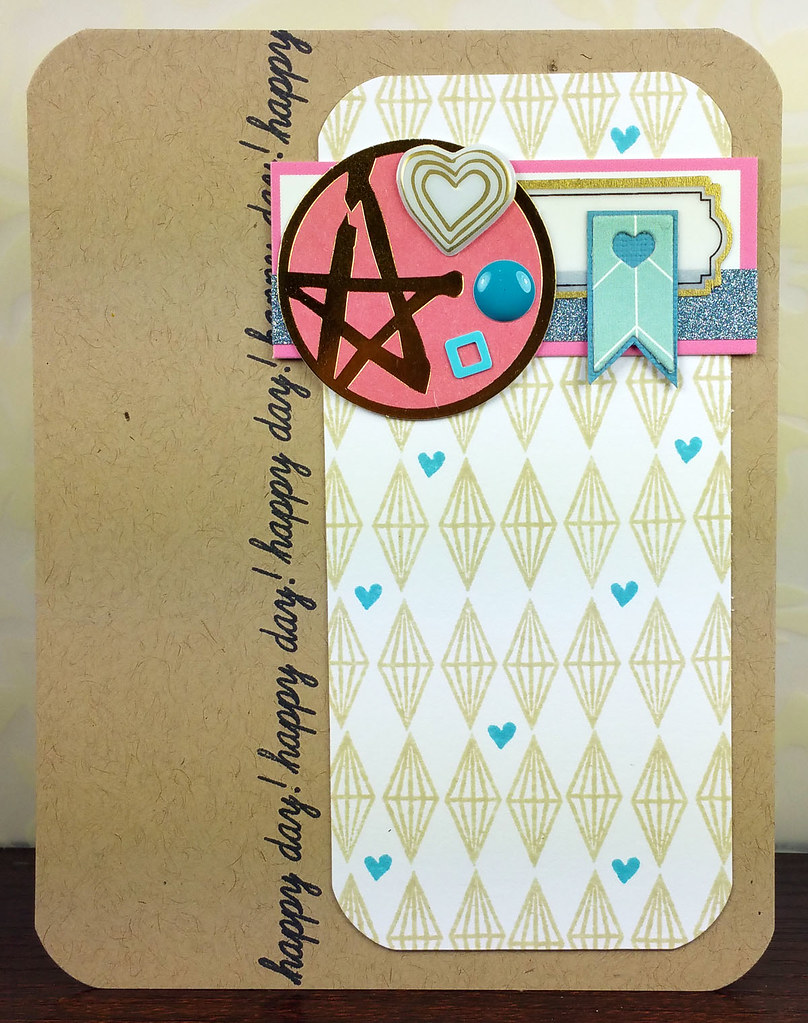
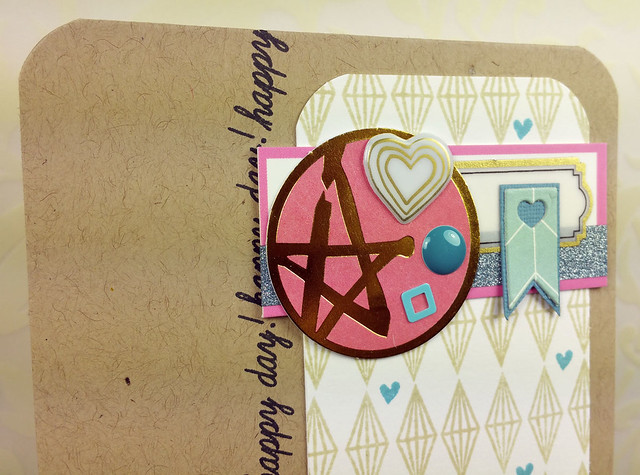
The diamond stamp from the May Pinkfresh Studio embellishment kit was used to stamp a background on the white cardstock. It was looking a little sparse, so I went in and added little hearts from the February Pinkfresh Studio embellishment kit stamp in between the diamonds. I'm a fan of doing little clusters/layers of embellishments, so that's what I stuck with for the main focal point.

I'm thinking this could be a birthday card - we've had several birthday party invites lately and I find myself actually using the cards I make! Yay!


SUPPLIES:

Paper: Paper Source cover stock in Paper Bag; Staples 8.5 x 11 white cardstock; My Mind's Eye blue patterned paper; Bazzill Basics blue solid cardstock
Embellishments: Pinkfresh Studio (glitter washi tape, tags, puffy sticker, square sequin); Eyelet Outlet enamel dot
Stamps: Pinkfresh Studio (diamond, heart, sentiment)
Tools: Pinkfresh Studio (heart pennant die)
Ink: Ranger Distress Ink in Broken China and Old Paper, Tsukineko Memento dye ink in Tuxedo Black

Tuesday, June 2, 2015

Solid Twine Monogram Art

I recently stocked up on multiple colors of solid Divine Twine, and Greg inquired as to the need for so much twine, to which I say, Shhhhhh.

I previously made solid-colored numbers for monthly baby photo onesie badges (which, might I say, I think turned out super cute in Parker's monthly photos).

For my Whisker Graphics project this month, I made monogrammed solid twine art - super easy to make and add a little something personalized to the kids' rooms.

The "E" for Evelyn:

Solid Twine Monogram Art | shirley shirley bo birley Blog

The "P" for Parker:

Solid Twine Monogram Art | shirley shirley bo birley Blog

INSTRUCTIONS:

1. Design and cut the monogram letter using the Silhouette Cameo on an 8.5 x 11 piece of white cardstock.
2. Trace the letter onto another piece of 8.5 x 11 white cardstock
3. Cover traced letter with double-sided adhesive. I used Scrappy Tape.
4. Add twine to the double-sided adhesive. I switched up the rows of colors to be different heights
5. Cover the twine with the cut-out monogram. I also cut "evelyn" and "parker" with the Silhouette to add underneath each twine letter.
6. Insert into an 8.5 x 11 frame. I used a basic black frame from Ikea.

See this project on the Whisker Graphics blog here: Divine Twine Monogram

SUPPLIES:

Paper: 8.5x11 white cardstock
Embellishments: Solid Divine Twine in gray, navy, deep pink, and blue
Tools: Silhouette Cameo
Other: 1/2" Scrappy Tape

Blog Design by Get Polished | © 2018 shirley shirley bo birley blog